
How to Create a Sales Funnel in Systeme.io (Step-by-Step)
A sales funnel guides people (Potential customers/clients) from discovering you (Or your business/product) to making a purchase.
Systeme.io makes building sales funnels simple, even for beginners.
This guide walks you through the step-by-step process of creating one (Even if you're a beginner).
Let’s dive in.
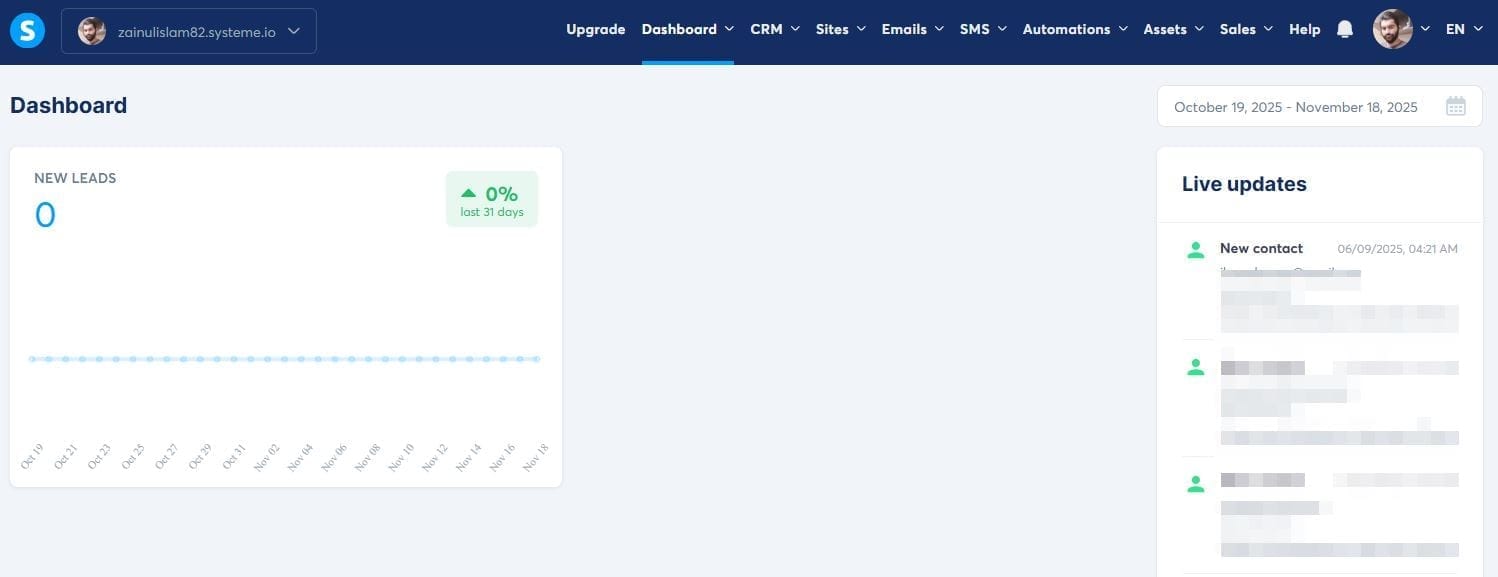
Step 2: Navigate to Funnels
On the left sidebar, click “Sites" then click "Sales Funnels".
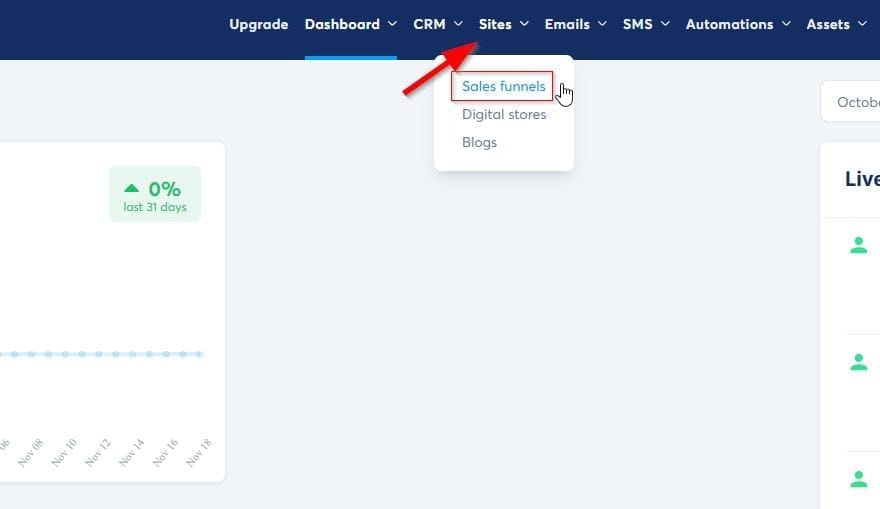
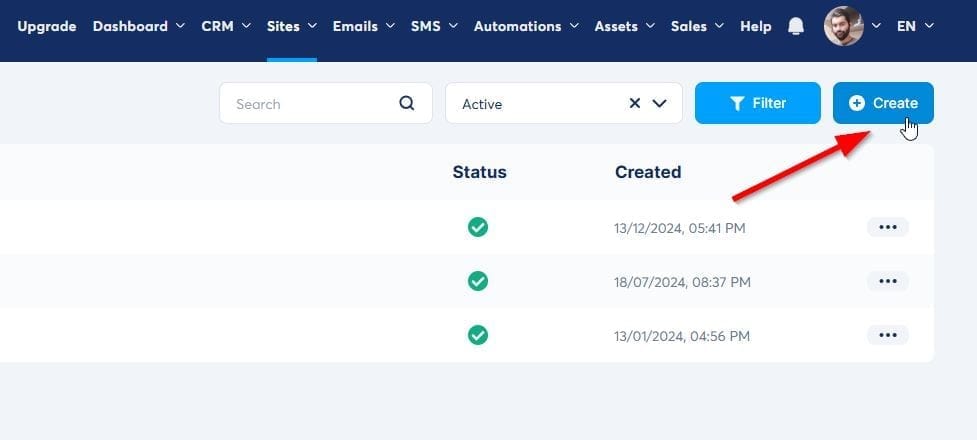
Then, click on the “Create” option.
Not a fan of written content? Watch the video below!
Let's continue to step 3...
Step 3: Choose Your Funnel Type
Name your funnel and choose its type.
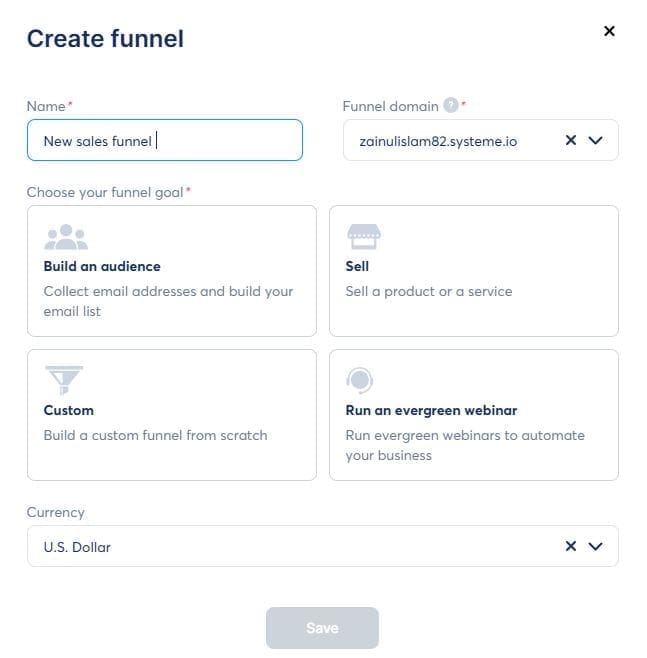
Select a funnel template that matches your goal:
Build an audience- For building your email list
Sell - For selling
Run an evergreen webinar- For hosting webinars
Or choose "Custom" for full customization.
Give your funnel a descriptive name (e.g., "Ebook Sales Funnel" or "Course Launch Funnel"). Click "Save".
Step 4: Add Your First Funnel Step
Click "Add a step" to create your landing page. This is where visitors first arrive.
Choose a page type:
Squeeze page - Collects email addresses
Sales page - Presents your offer
Thank you page - Confirms purchase or signup
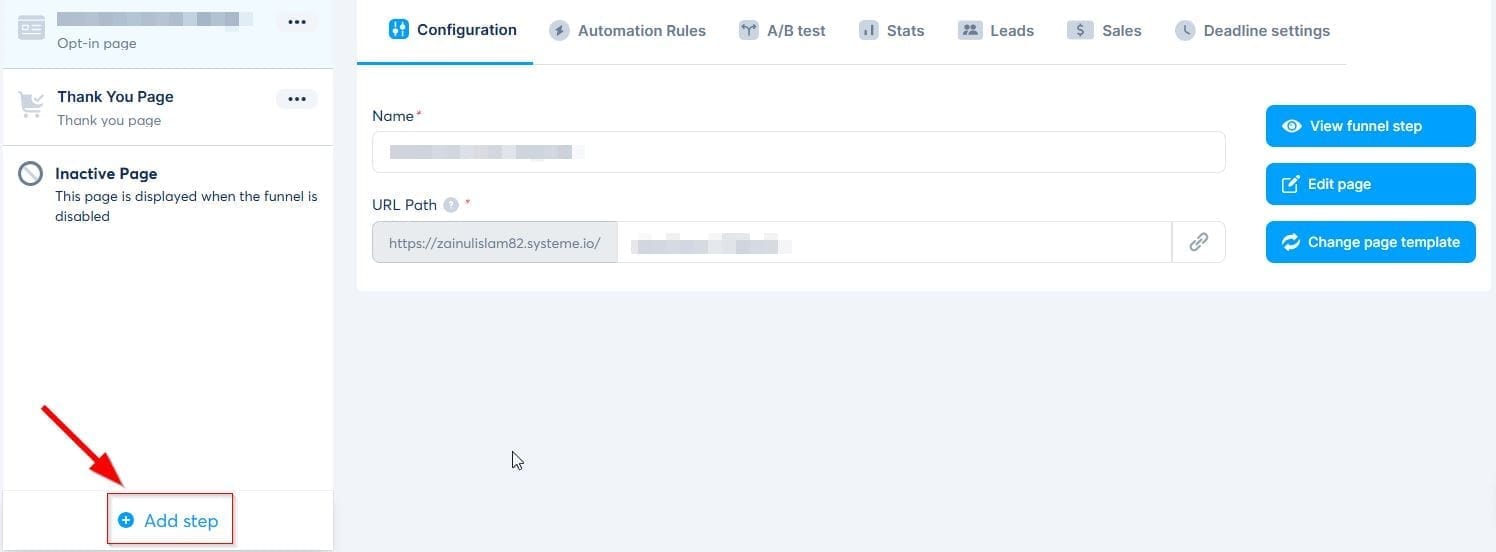
The above screenshot shows an already-built sales funnel of 2 pages: A squeeze page and a Thank-you page.
You can add more pages to this funnel at any stage.
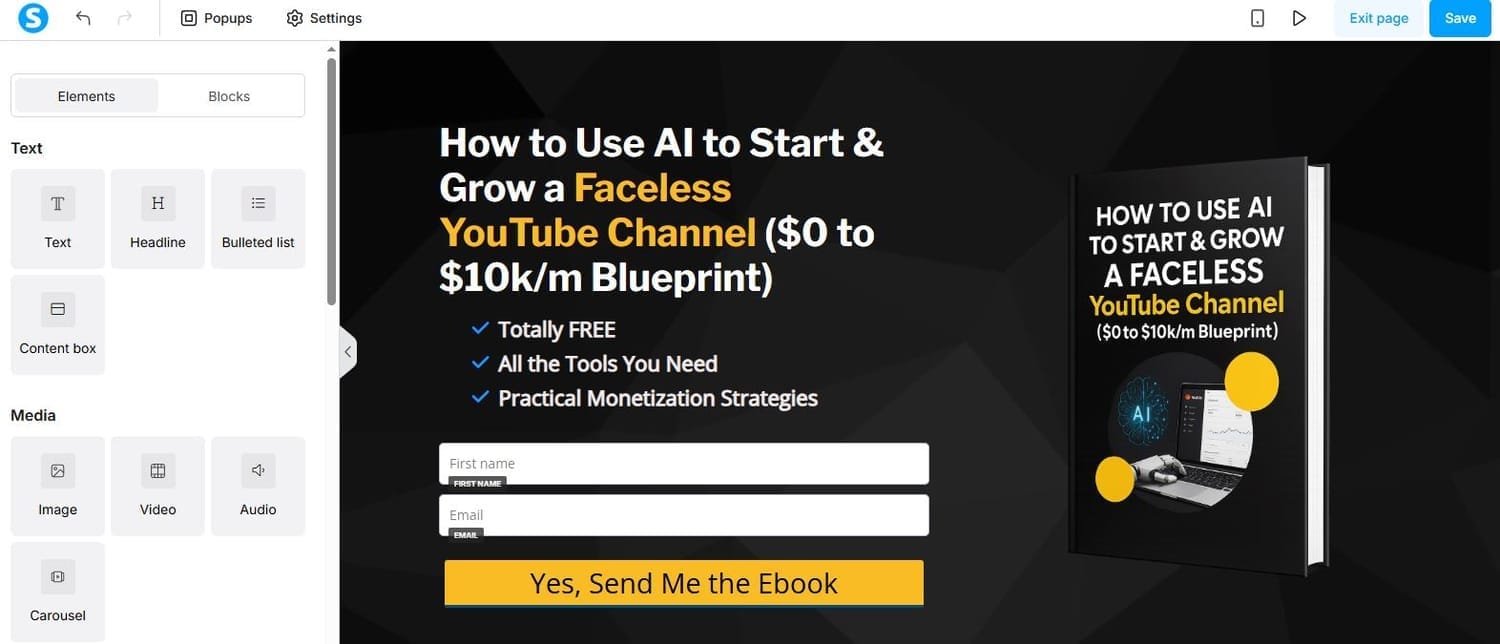
Step 5: Customize Your Landing Page
Click on the “Edit” button to the right of the screen to make changes to your newly created landing page. Here you can:
Edit headlines and text
Add images or videos
Customize buttons and colors
Add your opt-in form or buy button
Drag and drop elements to design your page.
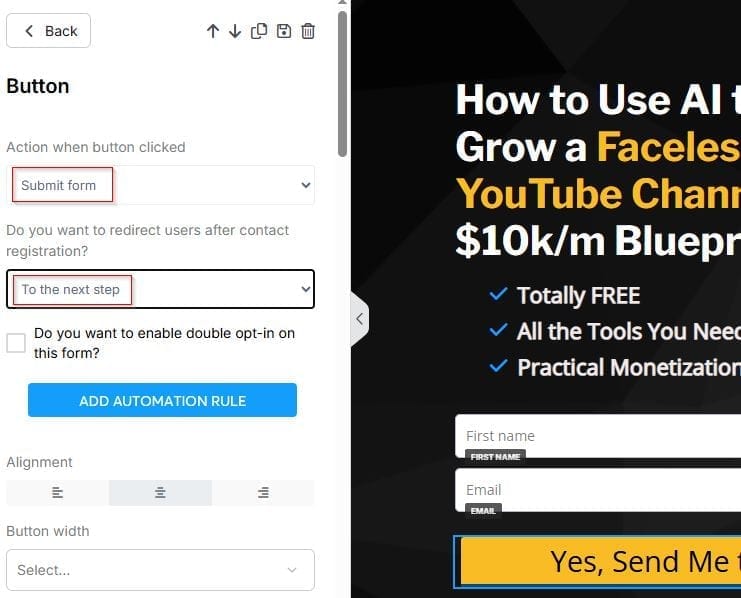
Step 7: Generate Leads
If you’re giving away a lead magnet on a squeeze page, you’ll need to add the right trigger on the button.
Click on the button and select the appropriate setting. The “Submit form” button lets you do three things:
Send the user to the next step (in case you have a next step in your funnel)
Send the user to a custom URL (For instance, if you want to introduce an upsell)
No redirection at all
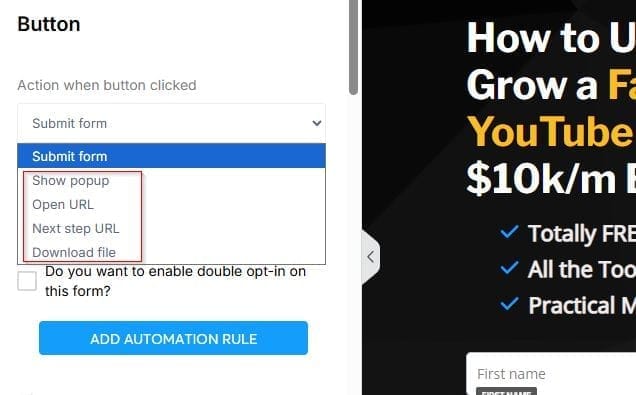
In addition to “Submit form”, there are 4 other options here:
You can show a pop-up
You can get Systeme to open a URL when someone clicks on the button
You can directly send the user to the next step
You can let them download a file
If you want more qualified leads, enable double opt-in. This will send an email to their inbox where they can confirm the subscription.
Step 8: Connect an Email Autoresponder (Campaign)
What happens when someone submits a form to get your lead magnet? They should get the freebie as soon as possible.
To automatically send the lead magnet, you can link a campaign to the squeeze page, and the first email of that campaign should have the details of the lead magnet.
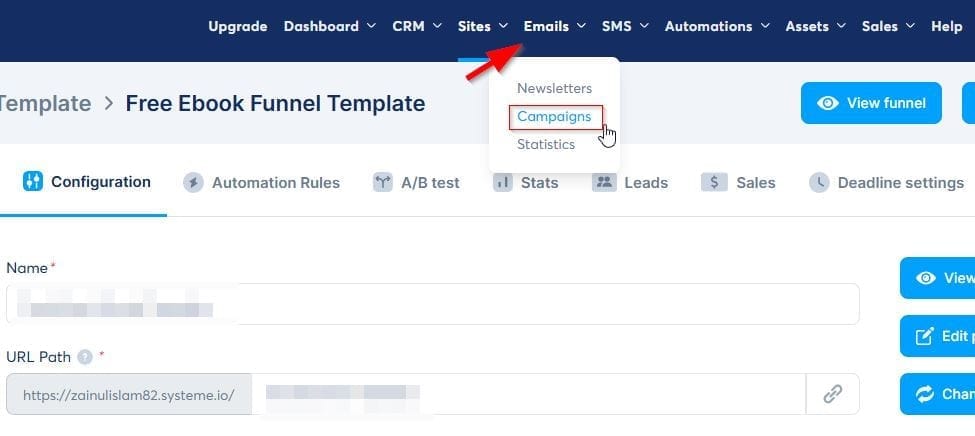
To create one, go to “Campaigns” after hovering over “Emails”.
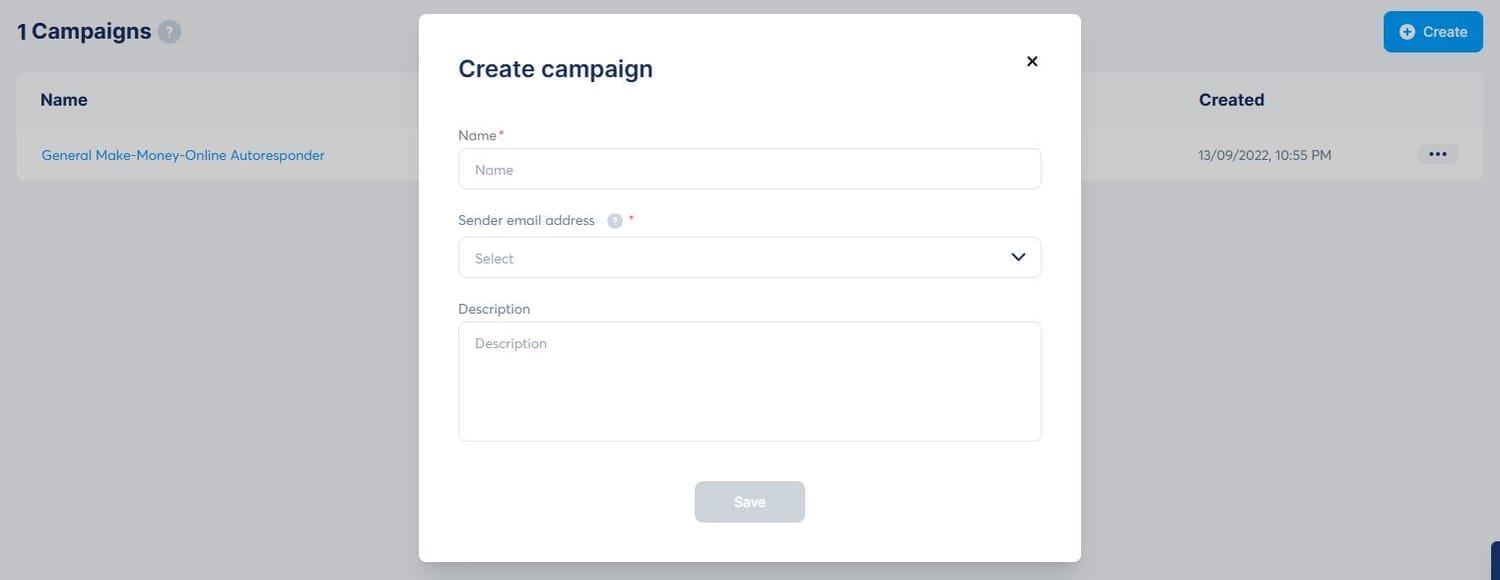
Create a new campaign and enter the name, sender email, and description.
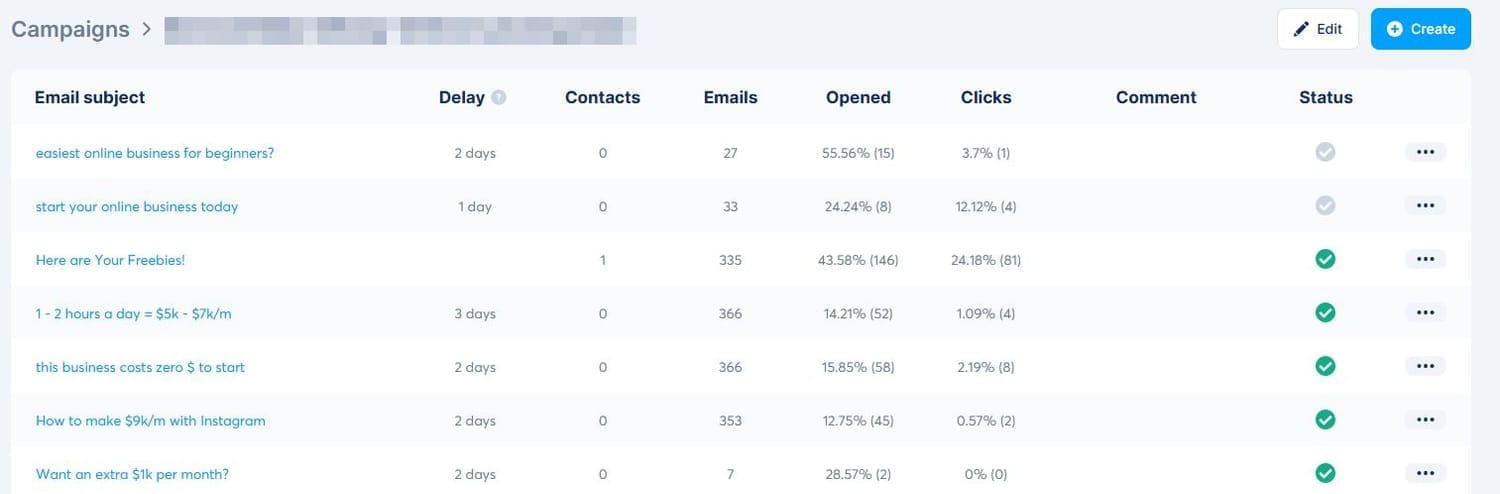
Open this campaign and add any number of emails you want.
Again, the first email should be the lead magnet email if you want to connect this campaign to the squeeze page you just created.
Now, as soon as someone enters their email address and clicks the button on your squeeze page, these emails will be sent to them one by one (On a schedule set by you).
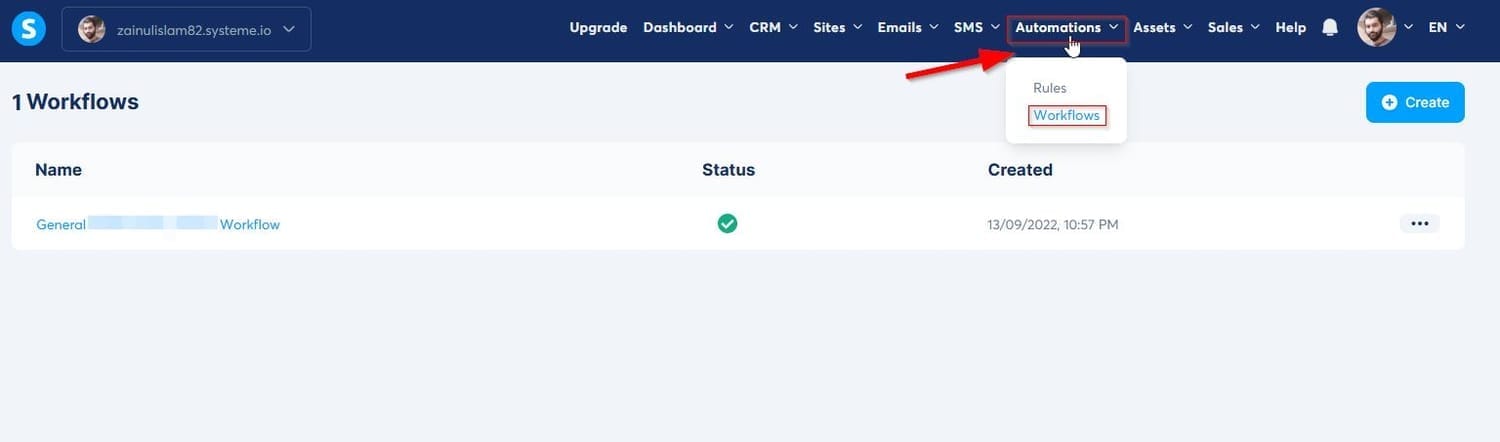
But, wait. There’s one more step: Connecting this campaign to the landing page (Squeeze page). and it’s super simple.
Go to “Automation”, then “Workflows”, then create a workflow.
Open this workflow and create a trigger. A trigger is something that “Triggers” the next step (Which we’ll add in the next step).
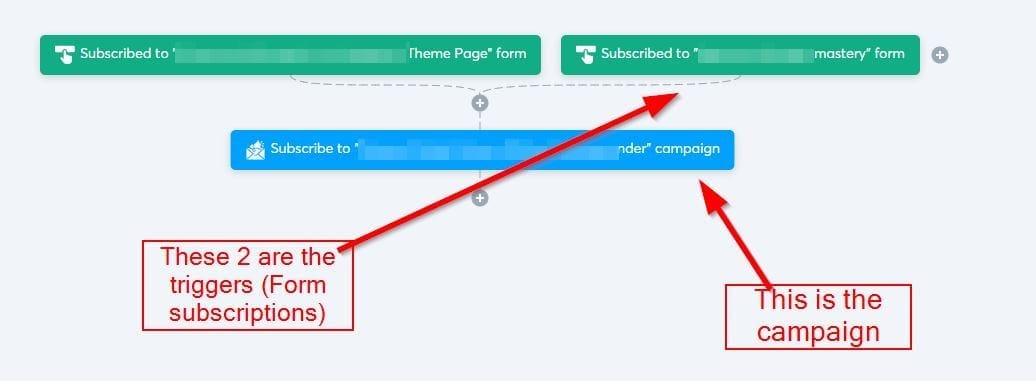
Let’s add a trigger.
Click on the plus icon at the top. The following window will open.
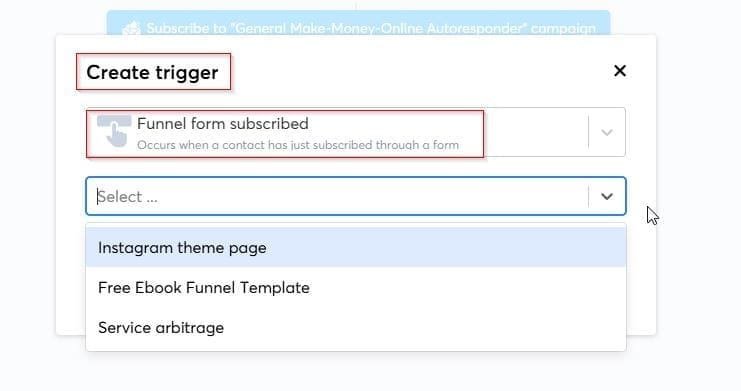
When you want a squeeze page or landing page to be a trigger, select “Funnel form subscribed”.
From the second drop-down menu below, select the exact landing page/squeeze page you want to create a trigger for.
All of your landing pages with forms will show here.
Now that your trigger is all set, let’s add the next step (the action that Systeme should take once someone submits their email address on that squeeze page).
To do that, click on the small “+” icon.
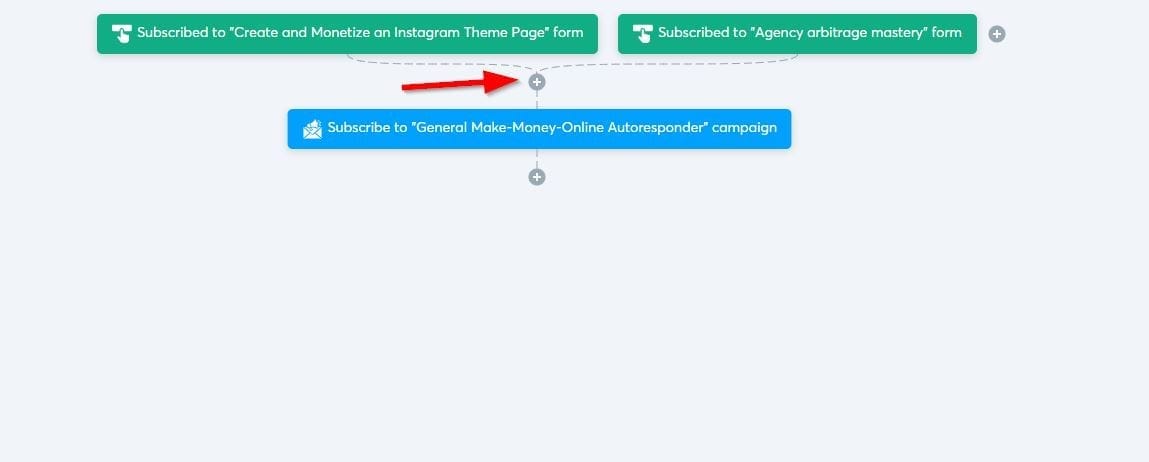
Then, add the next step in your automation workflow.
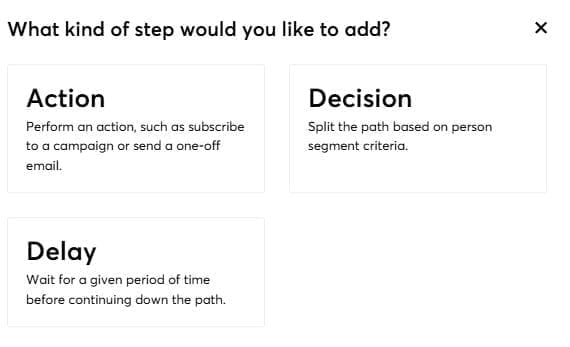
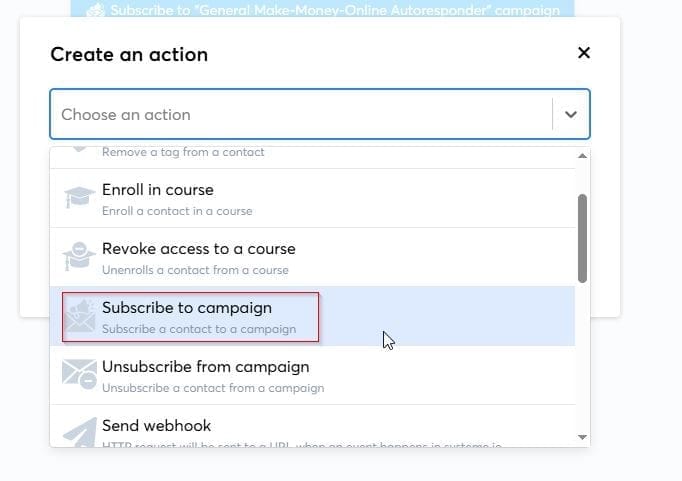
I’ll choose “Action” since I want it to activate the campaign.
Then, “Subscribe to campaign.”
Select the campaign you want to add.
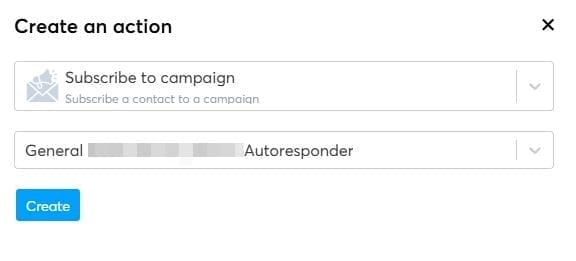
Now, when someone submits their email address on that landing page you selected in the first step, this campaign will be sent automatically.
Step 9: Test Your Funnel
Click the "Preview" button to see how your funnel looks. Walk through each step as a visitor would:
Fill out the opt-in form
Click through to the next pages
Open the inbox and see if they've received the lead magnet
Conclusion
You've successfully created your first sales funnel in Systeme.io! Start with a simple funnel, test it with real traffic, and refine based on results.
The more you optimize, the better your conversions will become.
Pro tip: Focus on one funnel at a time until it's profitable before creating more.
If you want help creating a sales funnel for your business in Systeme, let me know at zainulislam.com/contact
SHARE


Created with ©systeme.io• Privacy policy • Terms of service